
Fresh in this week we have a mint Late 1993 J plated VFR400 NC30. Another recommission project from a good customer of ours. Whilst this bike is a mint example externally, on initial first inspection, it became evident that all was not well with this NC30. Off loading it from the van, we started the bike (eventually) not because of a flat battery (its running a nearly new BS BTX7A) but because the fuel tap had been previously removed, disassembled and not put back together or installed correctly. Even with the tap set to gravity feed on the reserve setting and the choke set at various degrees, fuel was seemingly not reaching the carbs and it took more than 10 minutes to get the bike fired up, to subsequently find it was only running on 3 cylinders… strike 2, suspect failed plug on number 2 cylinder!
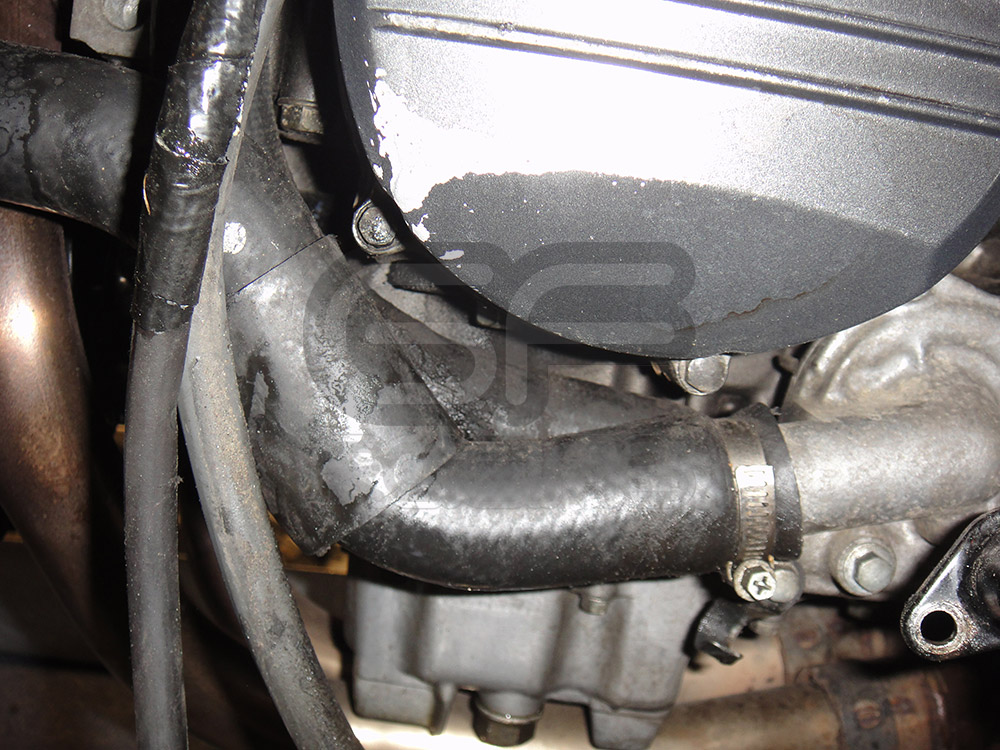
Fuel is now leaking from the carbs, so we shut her down and continue our visual assessment. This particular bike is being treated to a set of brand new GF reconditioned NC30 carbs, so the leaking fuel is not so much of an issue and can be explored later at leisure, with the old carbs on the bench.
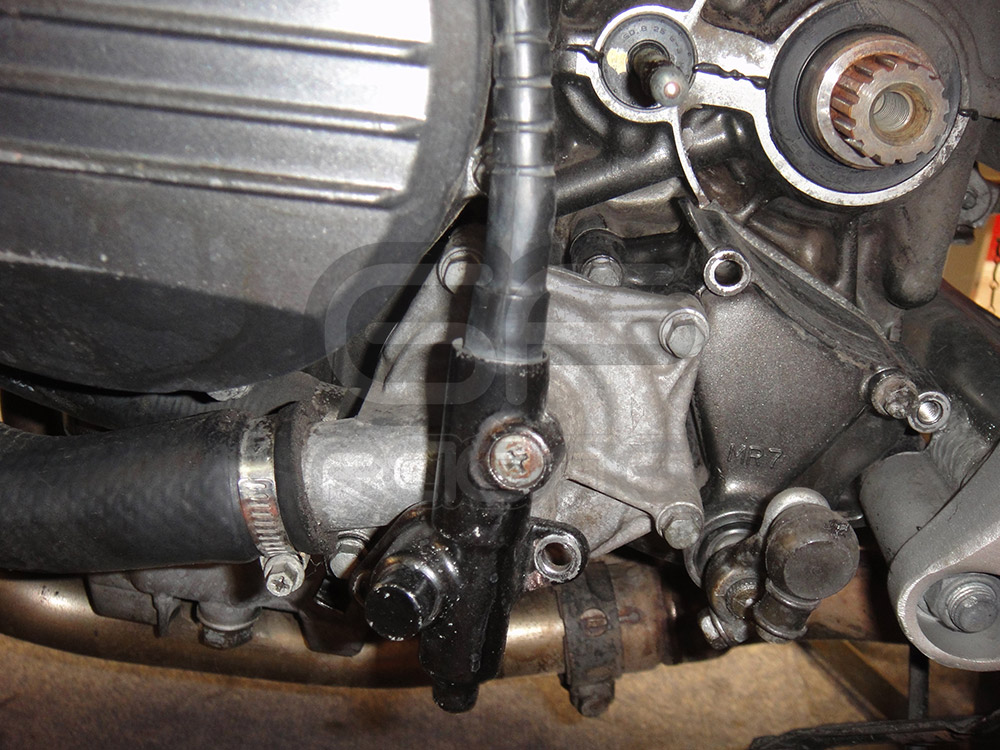
With the fairings all removed, we now have better access and the next spot is a bike that’s painfully low on oil (even with the bike cranked over at an angle statically, the dip stick is barely registering any oil at all), 15 mins later with the oil completely drained, confirms very little was left in the sump. These V4’s use a lot of oil under normal operation, so it’s critical to regularly check the level. Curiously the dip stick on this bike won’t screw in or out particularly well, feeling like it’s been cross threaded, further careful inspection highlights a welded damaged clutch casing thats been repainted (actually a very good repair visually) however we suspect during welding, the heat has allowed the engine cover to deform sufficiently to cause the dipstick hole issues along with a slight oil leak coming from the cover seal and oozing instant gasket would suggest a standard OEM paper gasket was not sufficient to do its job. A replacement engine clutch cover, gasket and dipstick will be needed here, along with fresh Semi Synthetic Putoline DX4 Oil
We then notice the coolant expansion bottle is completely empty and a quick look inside the top radiator with the cap off reveals a significant lack of coolant, roughly 1.5Litres down. This wont be doing the bike any good at all, and possibly if the bike has been dropped, will be why its lost its supply of coolant, but we’ll need to check this bike isn’t overheating once its been recommissioned.
Its clear that the bike needs a thorough going over once its on the bench, and this is a prime example of a 20 + year old bike, that hasn’t been abused at all, but still needs some severe TLC to bring it back up to the standard that it deserves.
Part 1 Photo Gallery:
-

- Brake fluid draining in progress
-
- Front sprocket cover cleaned
-
- Front sprocket cover needs a clean!
-
- Inside the chain guard in strip down
-

- the rear end starts to come apart
-

- A seriously seized rear caliper
-
- various parts on disassembly
-

- rear wheel parts being cleaned
-

- rear brake caliper gets stripped
-
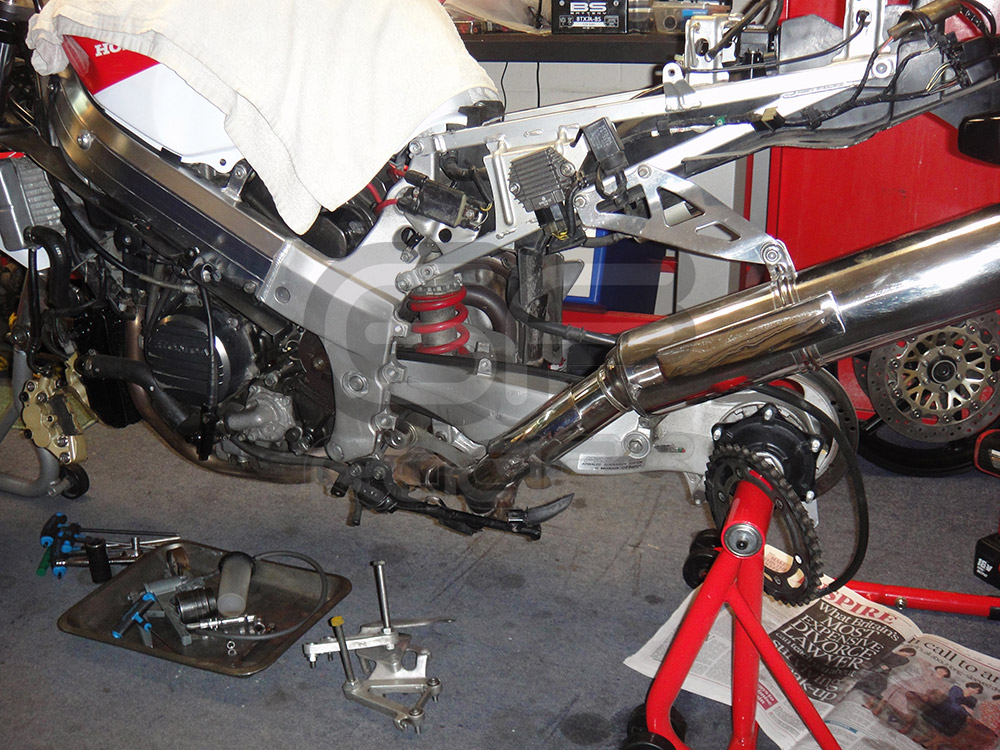
- rear end on strip down
-
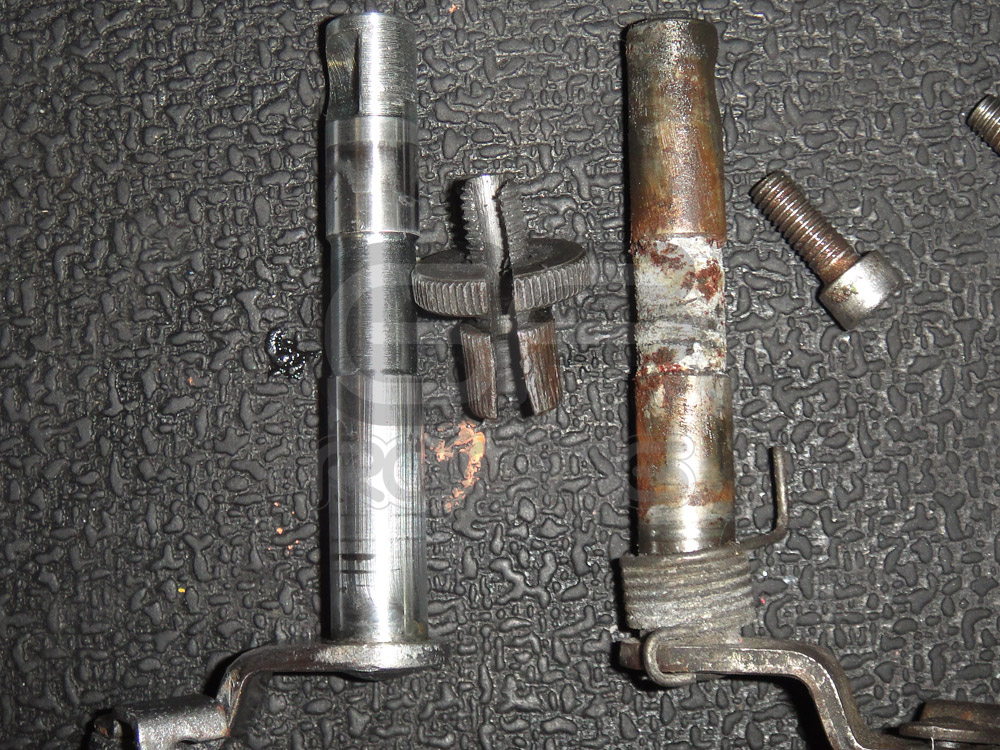
- Seized Clutch actuator on the right…. New/Good used on the left! No wonder the clutch felt awful!
-

- More rear end cleaning!
-
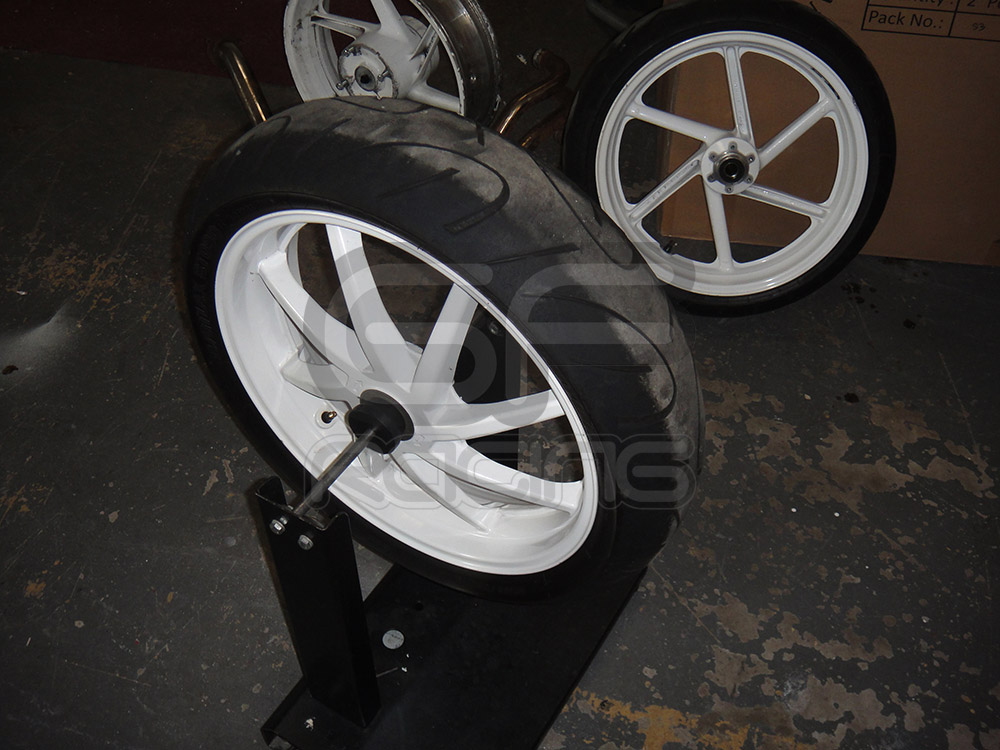
- Unbelievably both wheels have serious run out, suggesting the bike has been down the road
-

- this will need to be replaced and is beyond repair
-

- Parts get some serious cleaning tank treatment!
Part 2 Photo Gallery:
-

- Seized rear brake caliper gets a thorough overhaul
-

- OEM Pads
-

- More OEM Pads, out and inspected
-

- Rear brake caliper stripped and inspected prior to rebuild
-
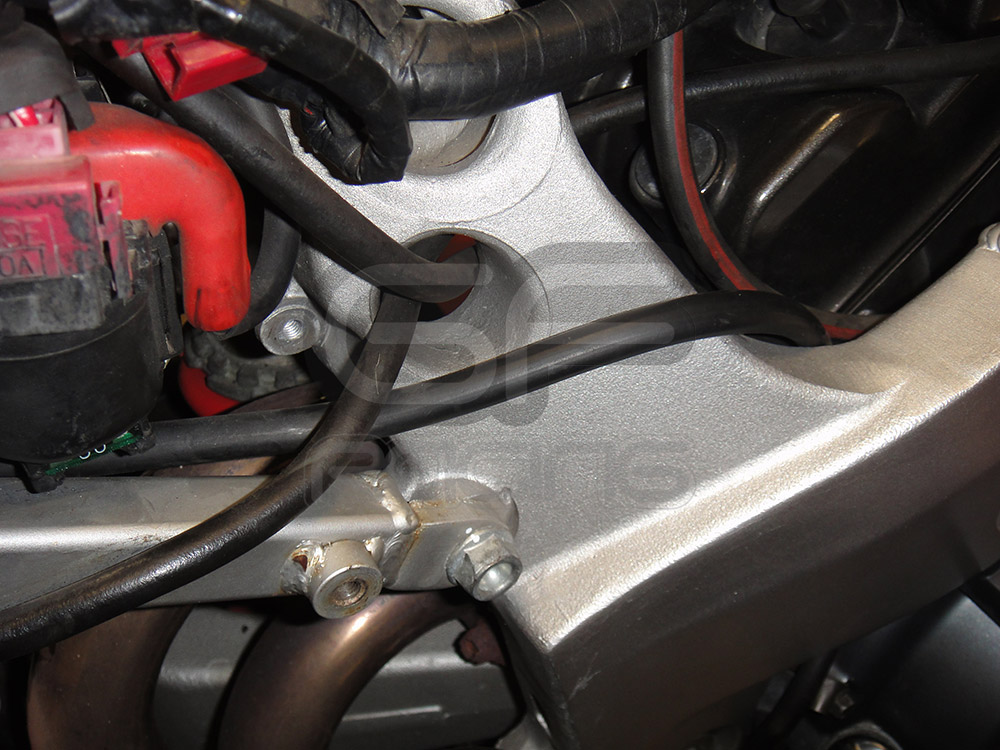
- We wouldnt expect routing of cables like this from a trained Honda Mechanic!
-
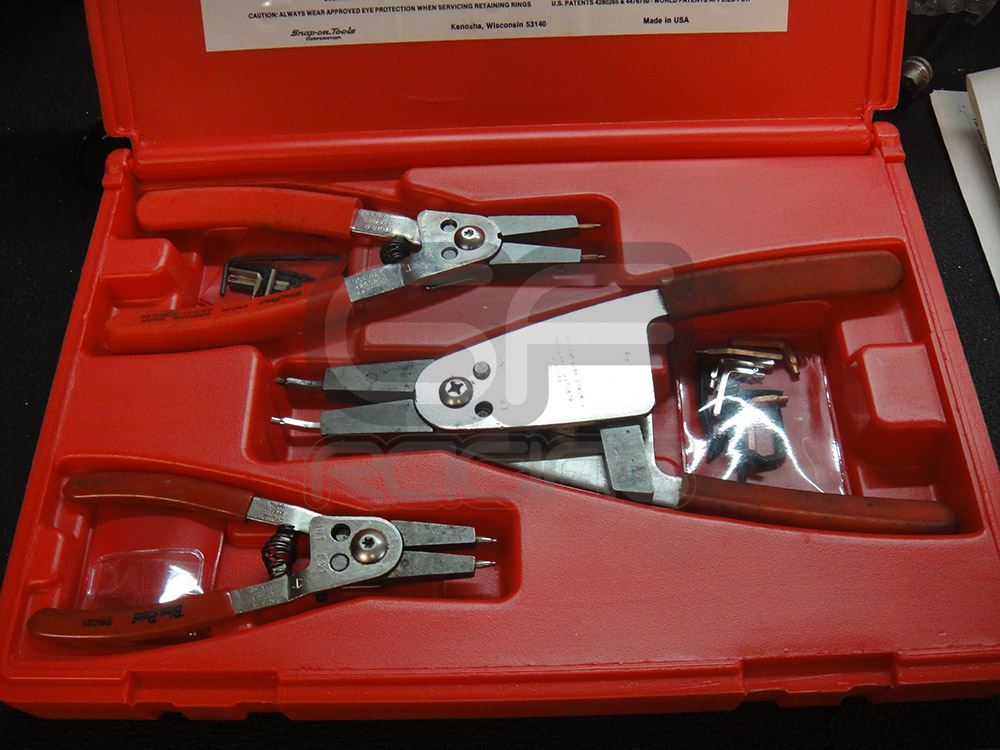
- The right tools for the job, only Snap on will be found in the GF workshop
-

- Stripping down the single sided hub assembly
-
- A typical sight, gravel!
-

- more gravel
-

- More Hub disassembly
-

- The Rear Hub Assembly gets a good dousing in the parts cleaner
-

- winding out the pistons in the seized rear brake caliper
-

- A common issue where the rear hub has not been adjusted using the correct tool… resulting in chewed lugs. Graeme will redress this and clean up the damage
-

- Completely disassembled rear hub
-

- more rear hub recon
-
- cleaning in process
Part 3 Photo Gallery:
-

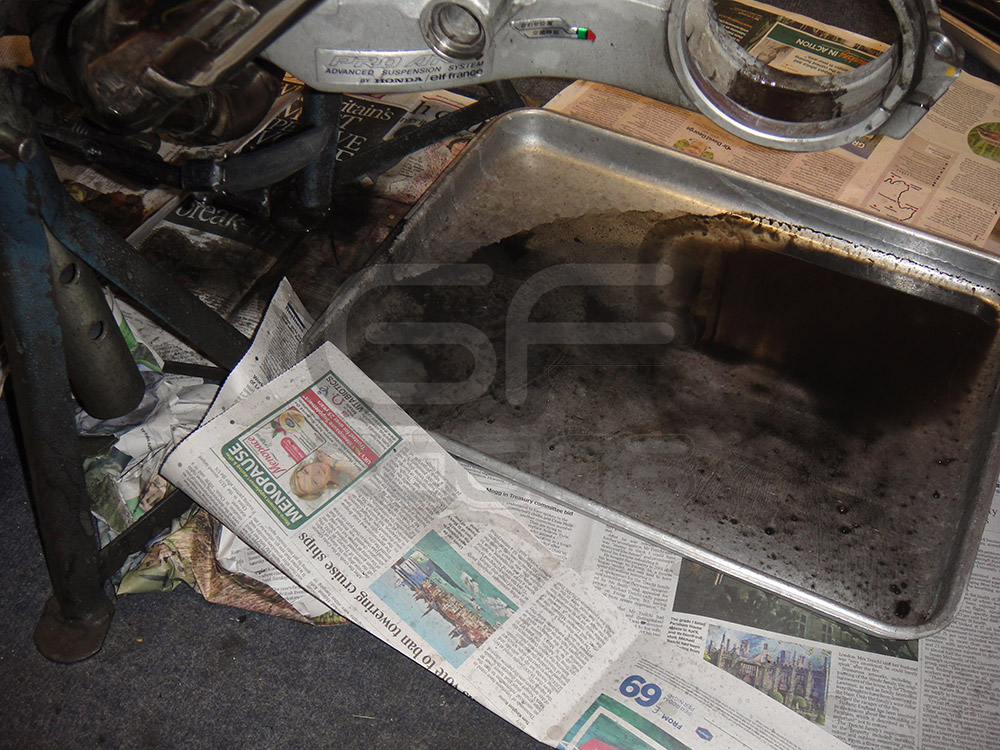
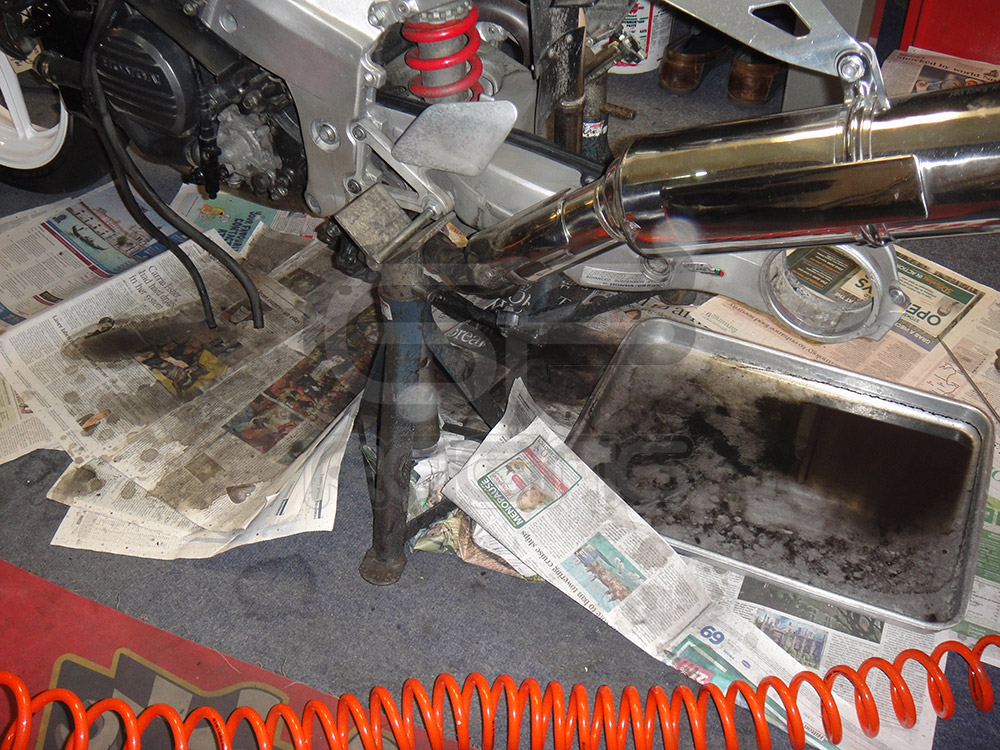
- The filth thats created during a deep clean!
-

- More filthyness!
-

- …and some more for good measure!
-
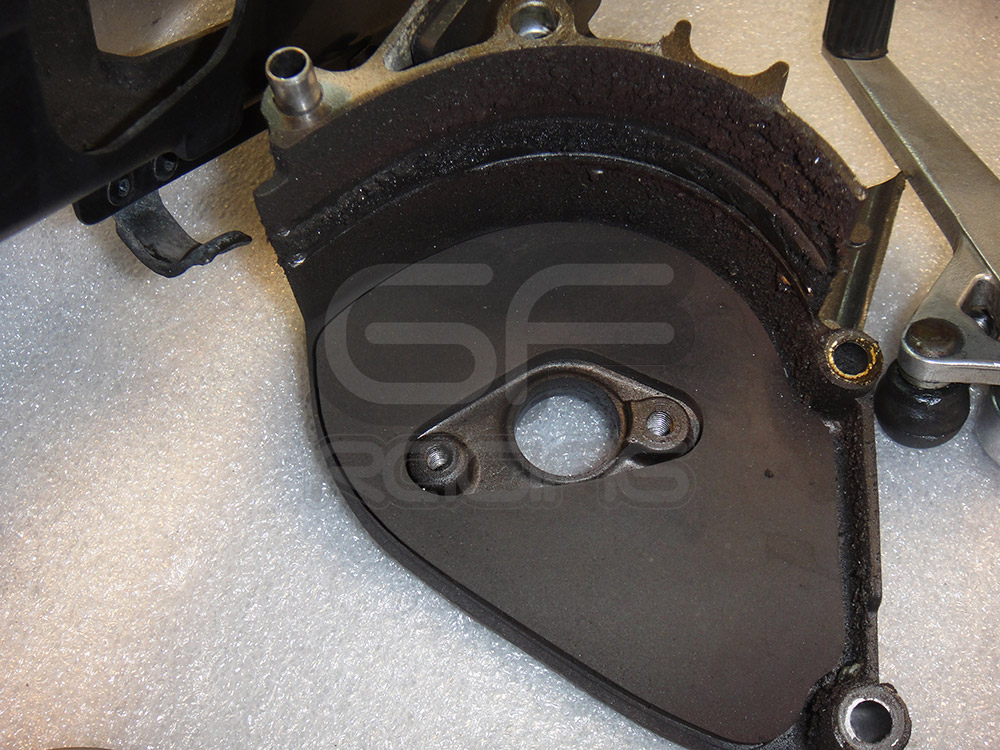
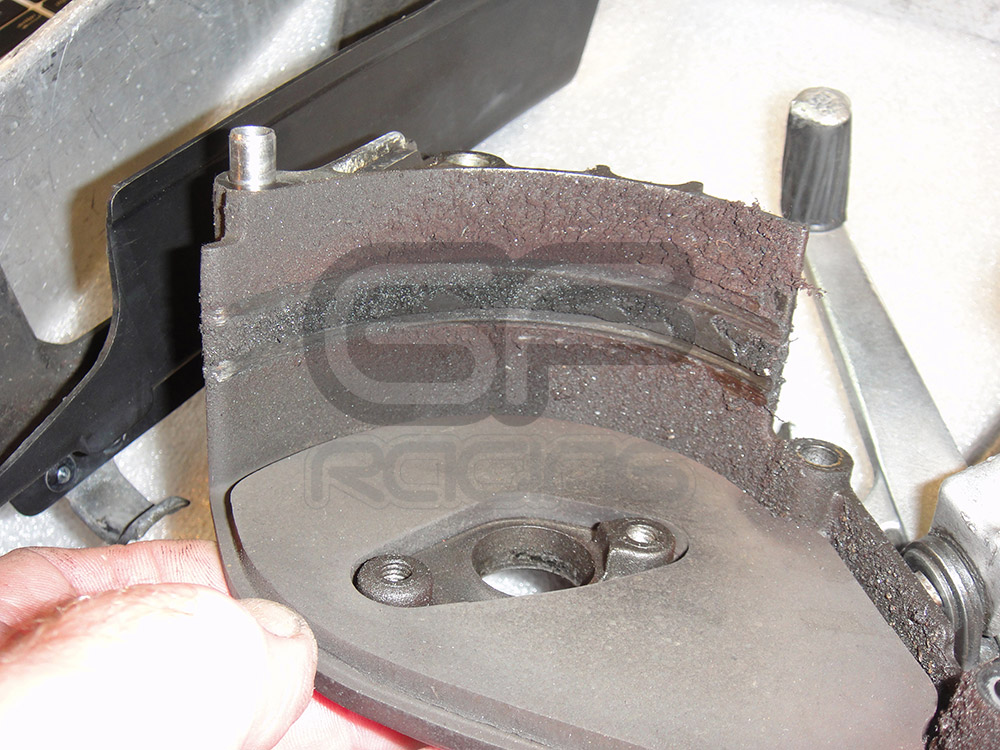
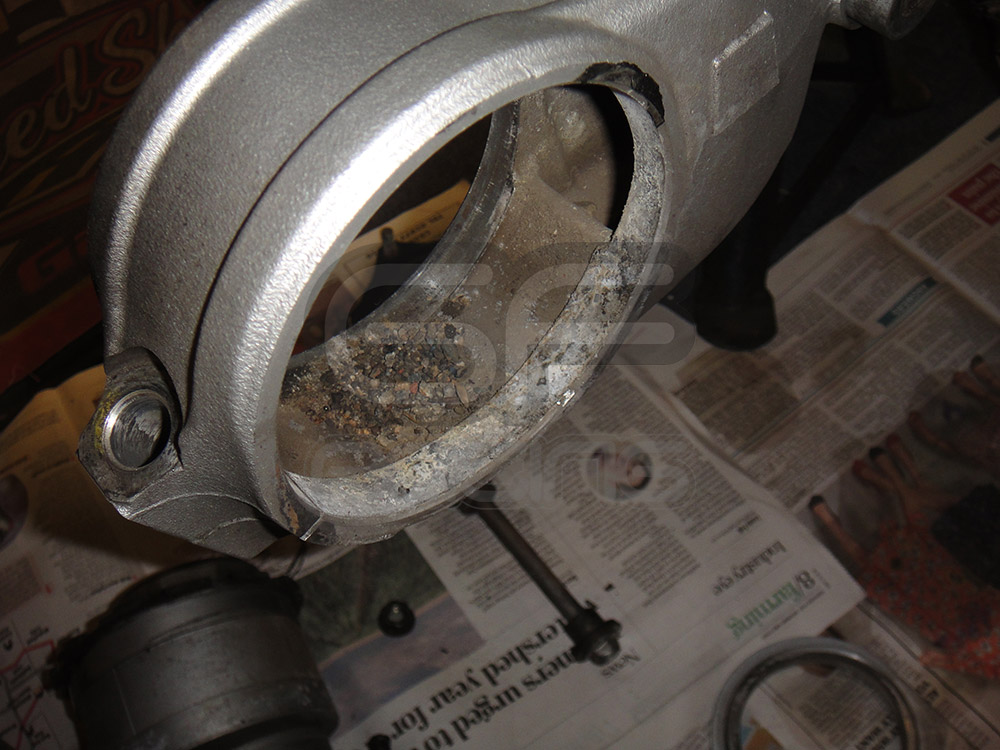
- As per the clutch side, we ended up replacing the alternator cover due to hidden damage
-
- more detailed view of the alternator cover damage
-
- more cleaning…
-
- … and a bit more
-

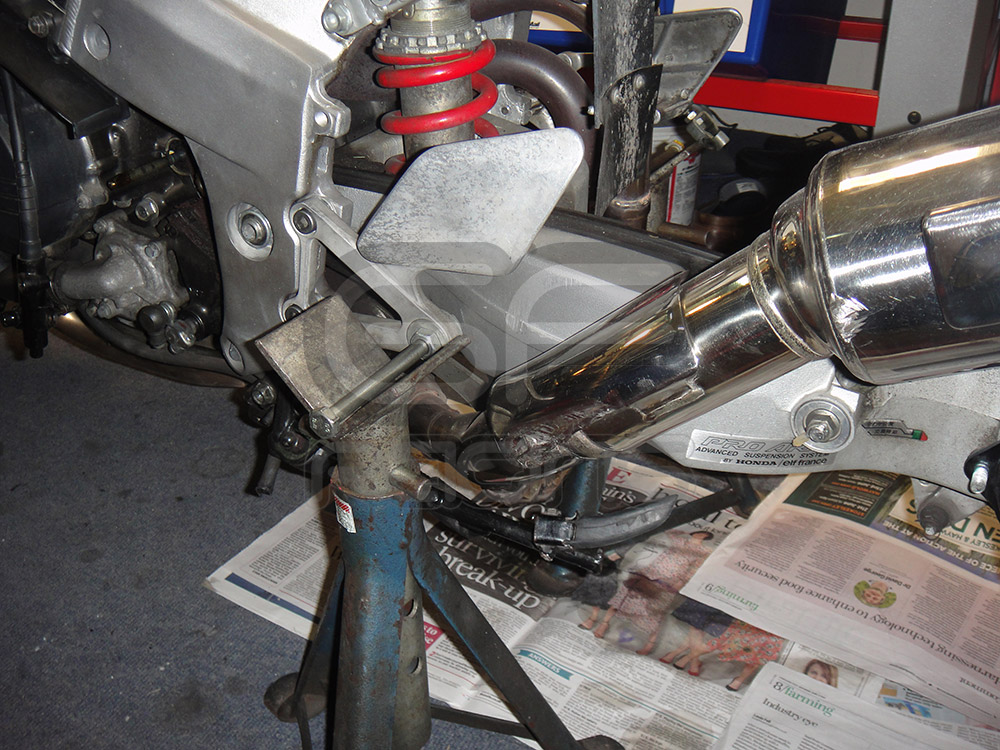
- rear swing arm and rear sets starting to look a bit better!
-

- rear hub assembly awaiting cleaning and reassembly
-
- front sprocket area getting the cleaning treatment
-
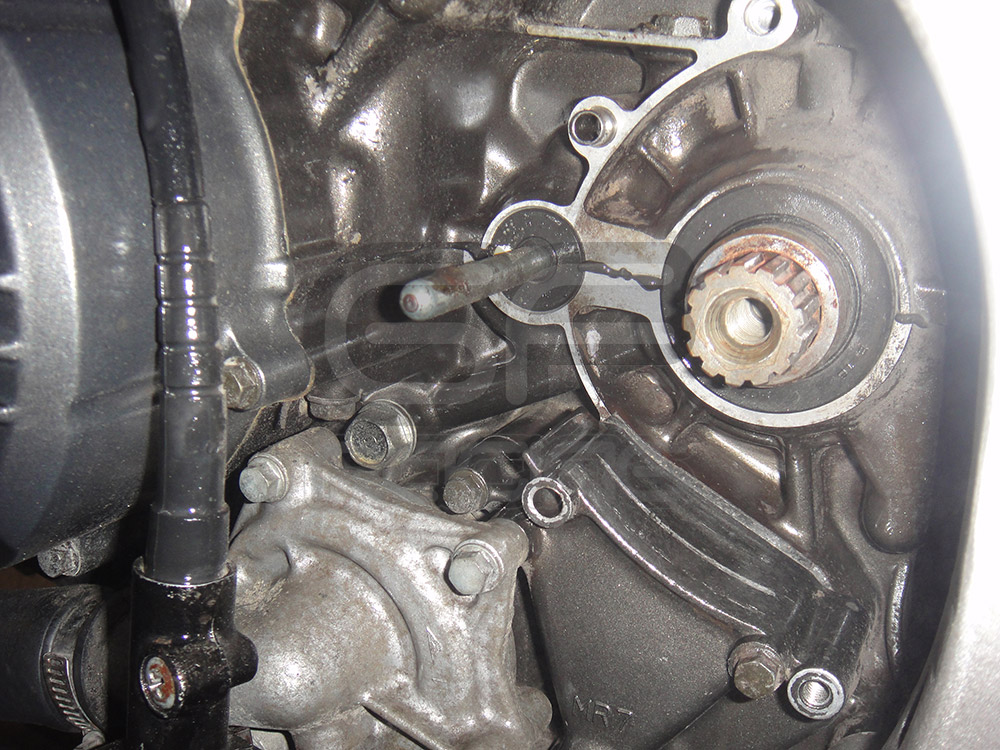
- front sprocket area prior to cleaning
-

- rear hub cleaned and being redressed
-

- rear brake disc and hub reassmbly
-

- brand new 520P Gold HA Sprocket goes onto the hub
-

- Nice clean front sprocket area, showing new renthal sprocket and DID X-ring chain
-

- prior to cleaning
-

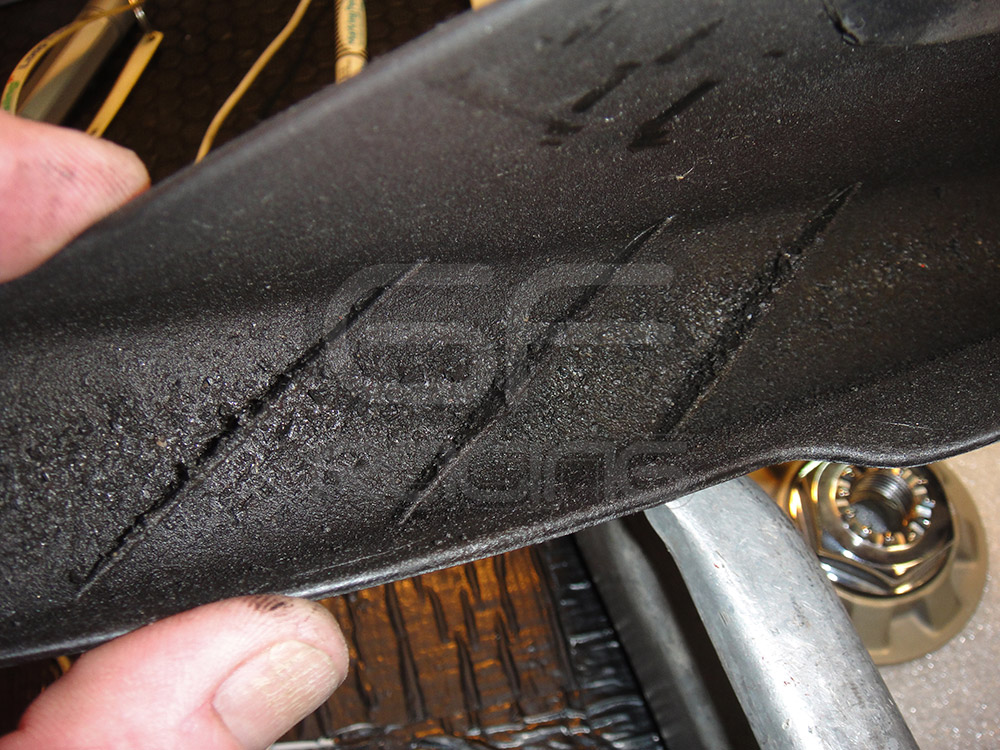
- Seriously frayed throttle cables will be replaced
-

- Seriously frayed throttle cables will be replaced